Quantum Computing using Amazon Braket (AWS service)
Get started with Amazon Braket
Create an Amazon Braket Notebook instance
✔ Open the Amazon Braket Console.
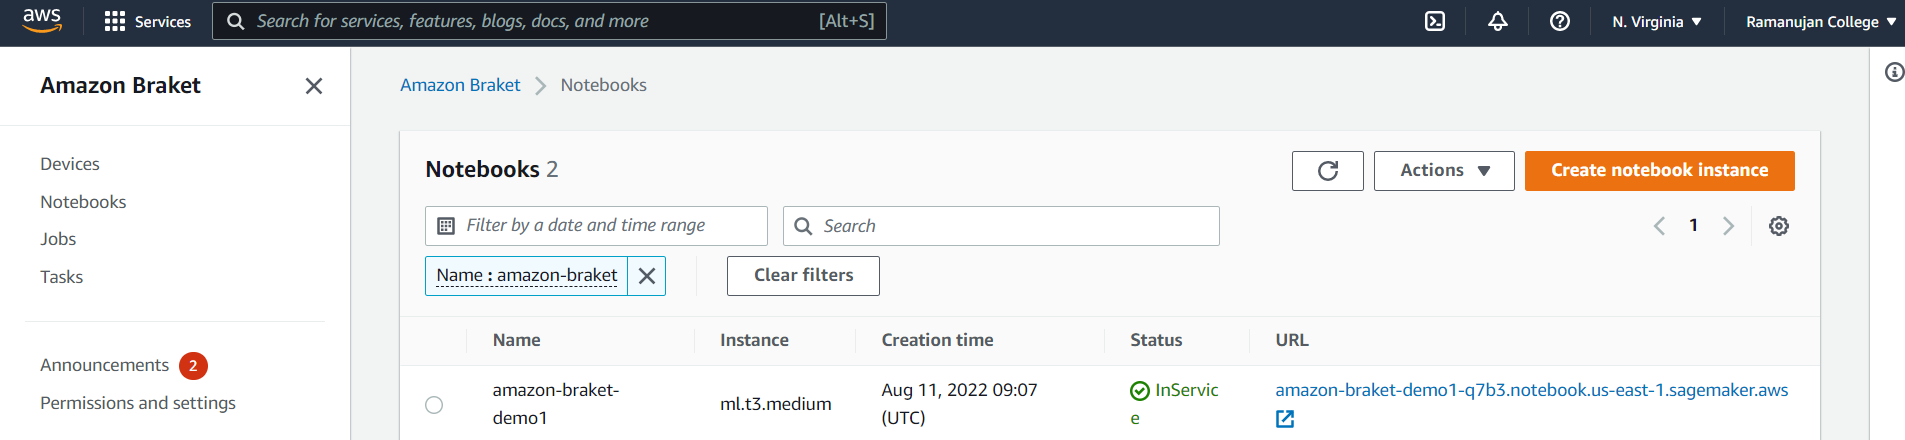
✔ Choose Notebooks in the left pane, then choose Create notebook.

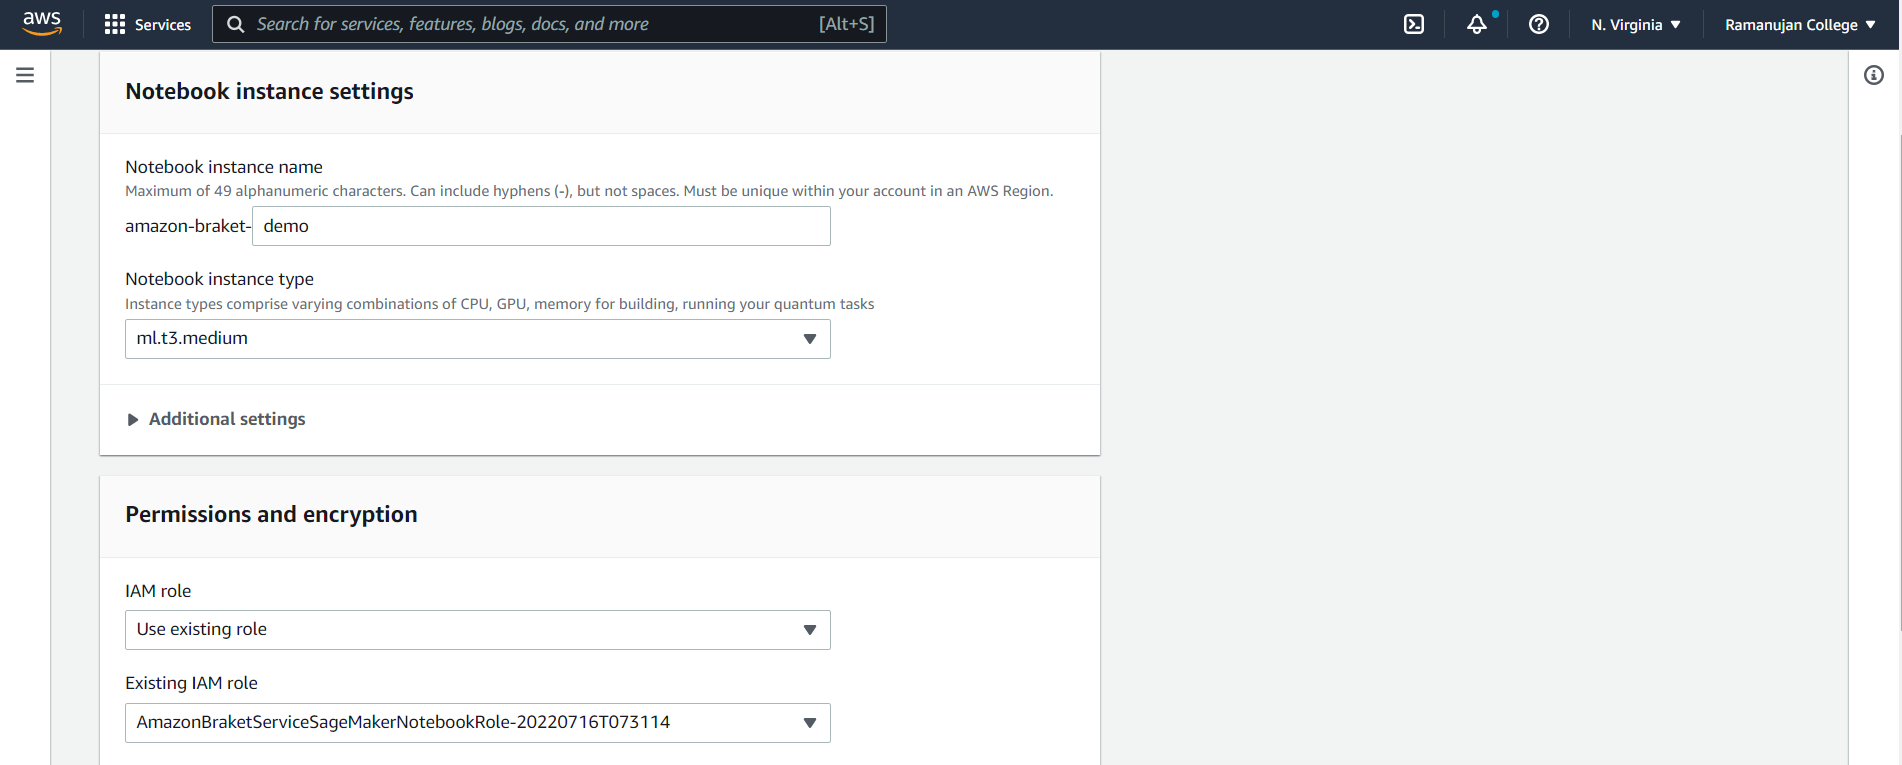
✔ In Notebook instance settings, enter a Notebook instance name (use only alphanumeric and hyphen characters)
✔ Select the Notebook instance type. Choose the smallest type you need. Choose a cost-effective instance type, such as ml.t3. medium.
Run your first circuit using the AmazonBraket Python SDK
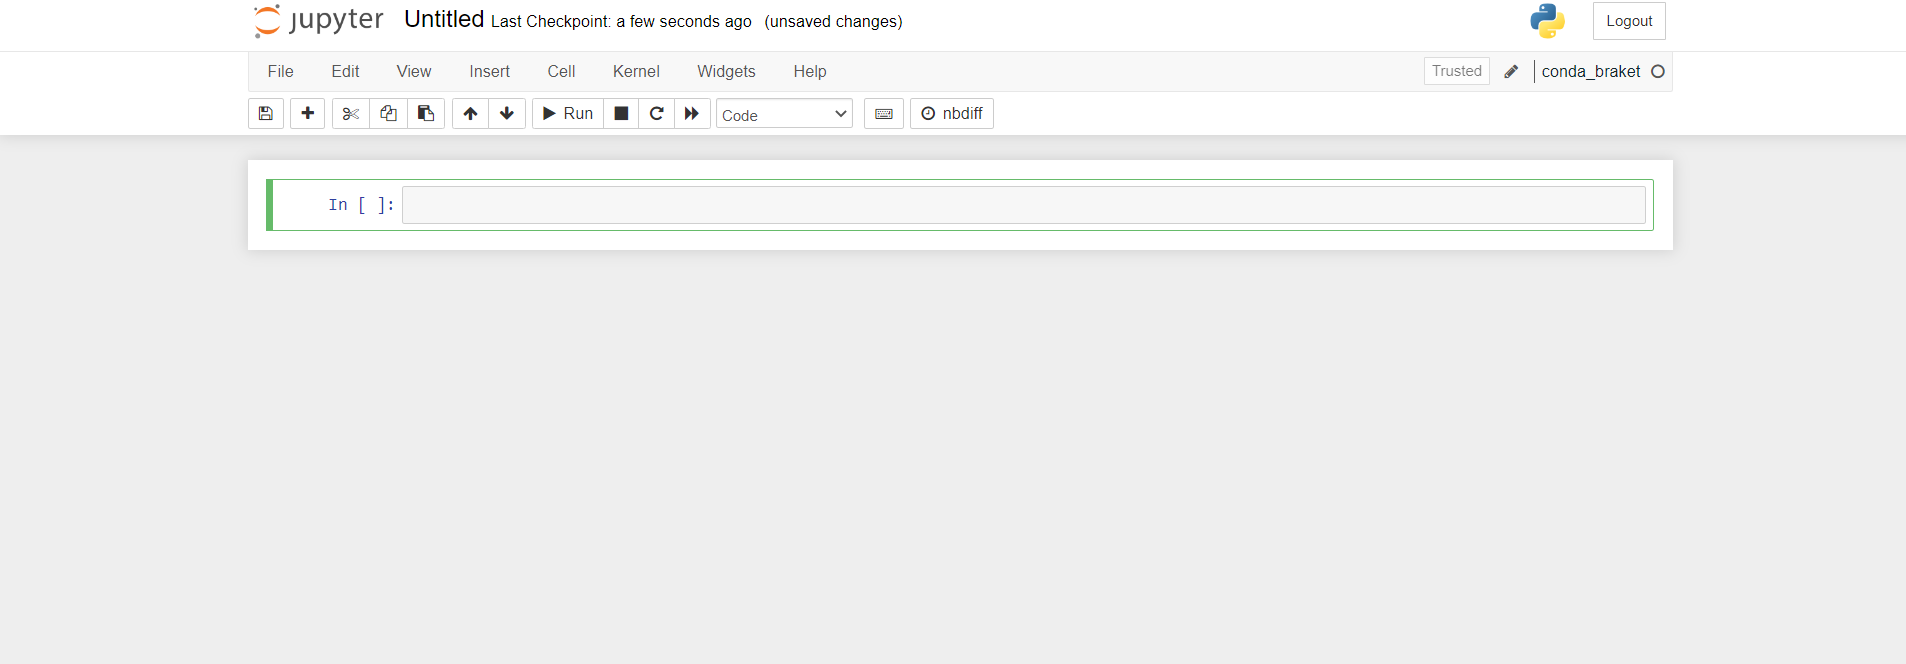
✔ After your notebook instance has launched, open the instance with a standard Jupyter interface by choosing the notebook just created.
✔ Amazon Braket notebook instances are pre-installed with the Amazon Braket SDK and with all the required libraries and dependencies.
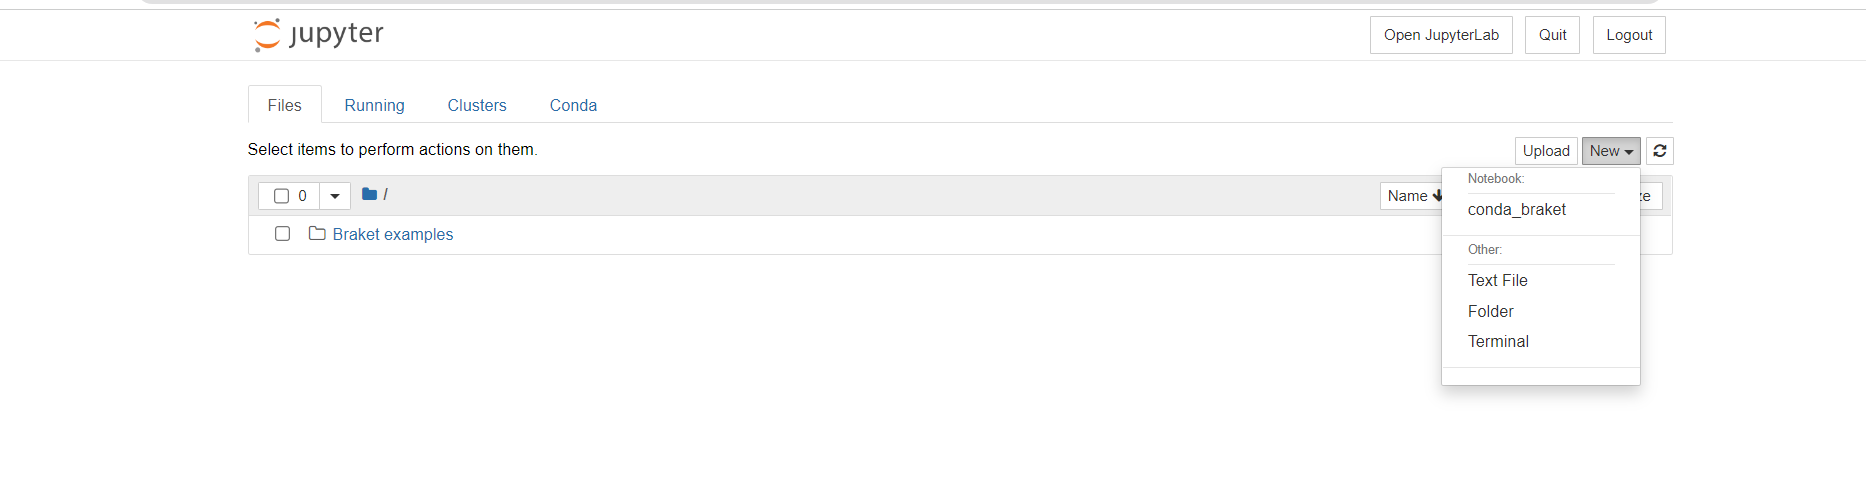
✔ Start by creating a new notebook with conda_braket kernel.
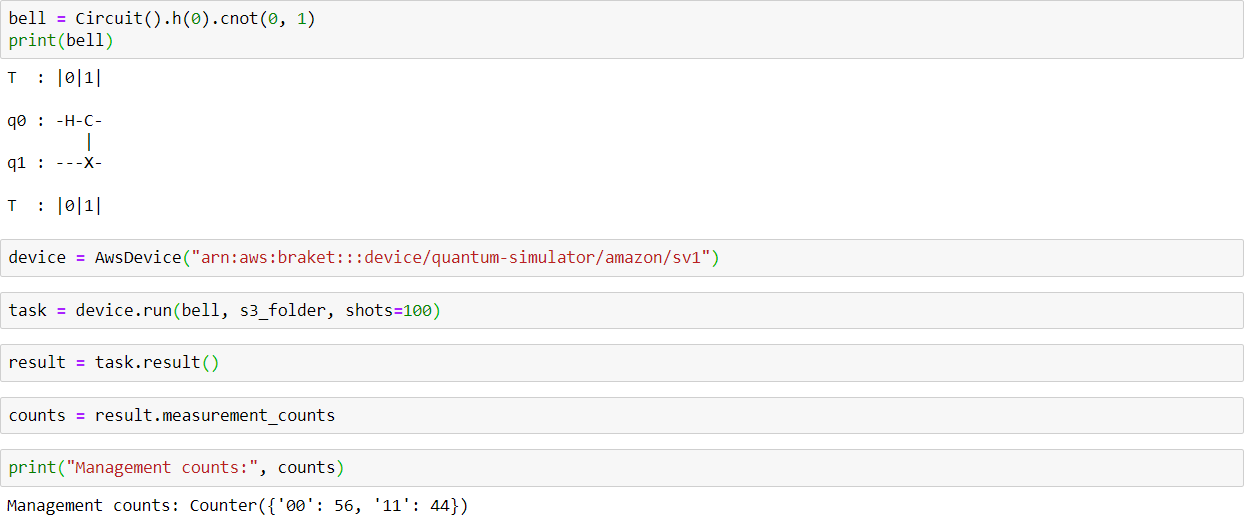
✔ You can start with a simple example. First, construct a circuit that prepares a Bell state, and then run that circuit on different devices to obtain the results.
✔ Begin by importing the Amazon Braket SDK modules and defining a simple Bell State circuit.
Run your first problem
✔After writing code you can see measurement count right there as a result.
Steps for local run (AMAZON BRAKET)
Setting up your Local Developement Environment in Amazon Braket
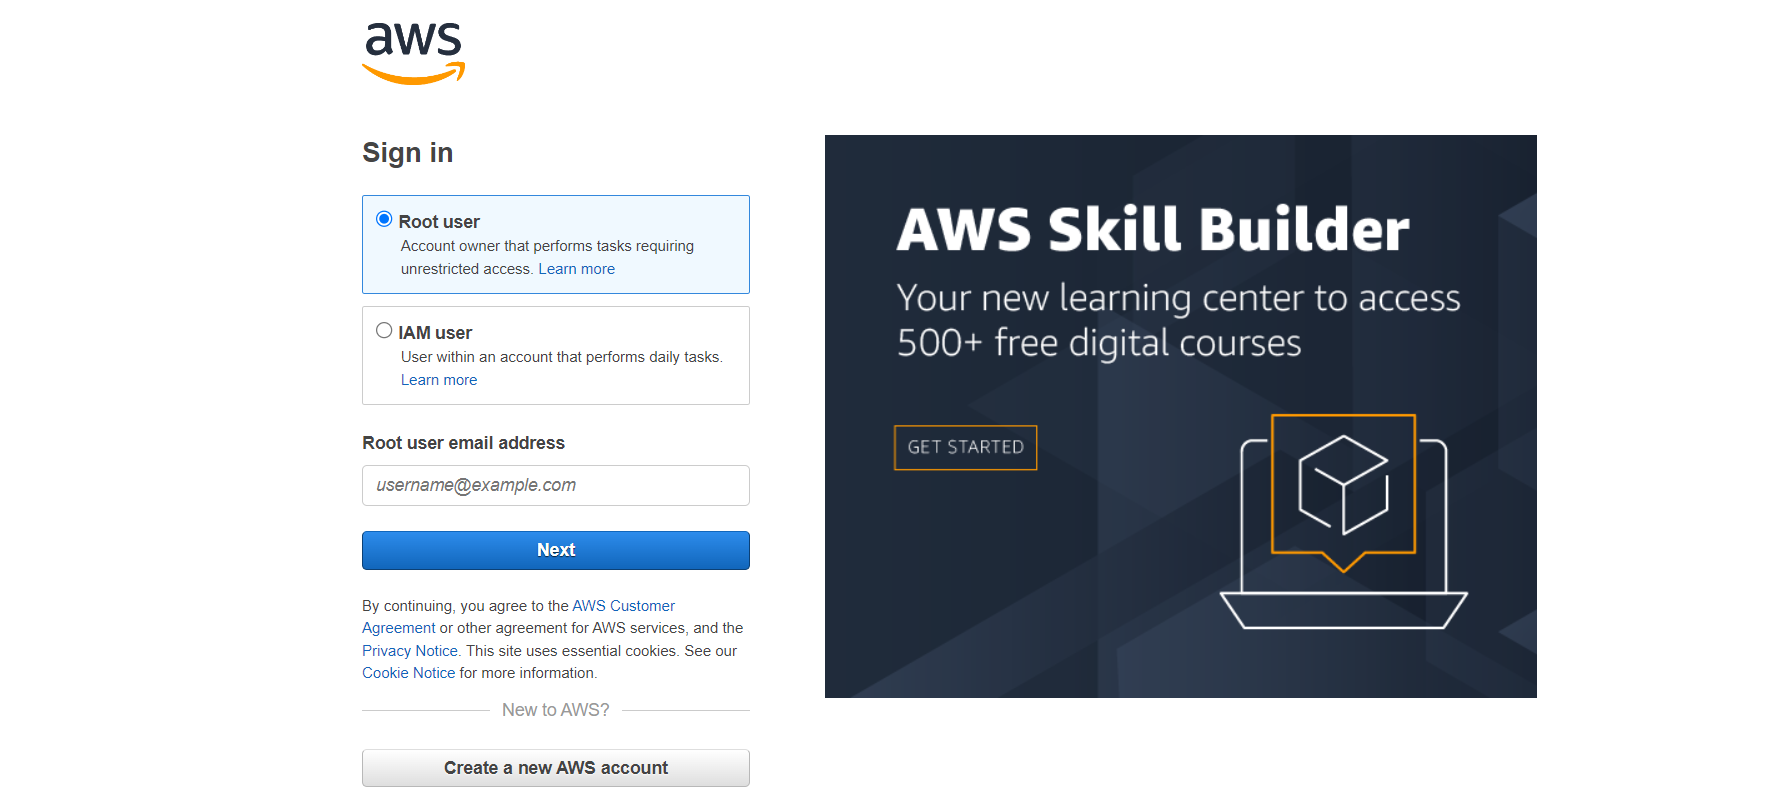
Step 1: Set up the AWS account
Step 2: Then we have to Create an IAM user and keys for programmatic access
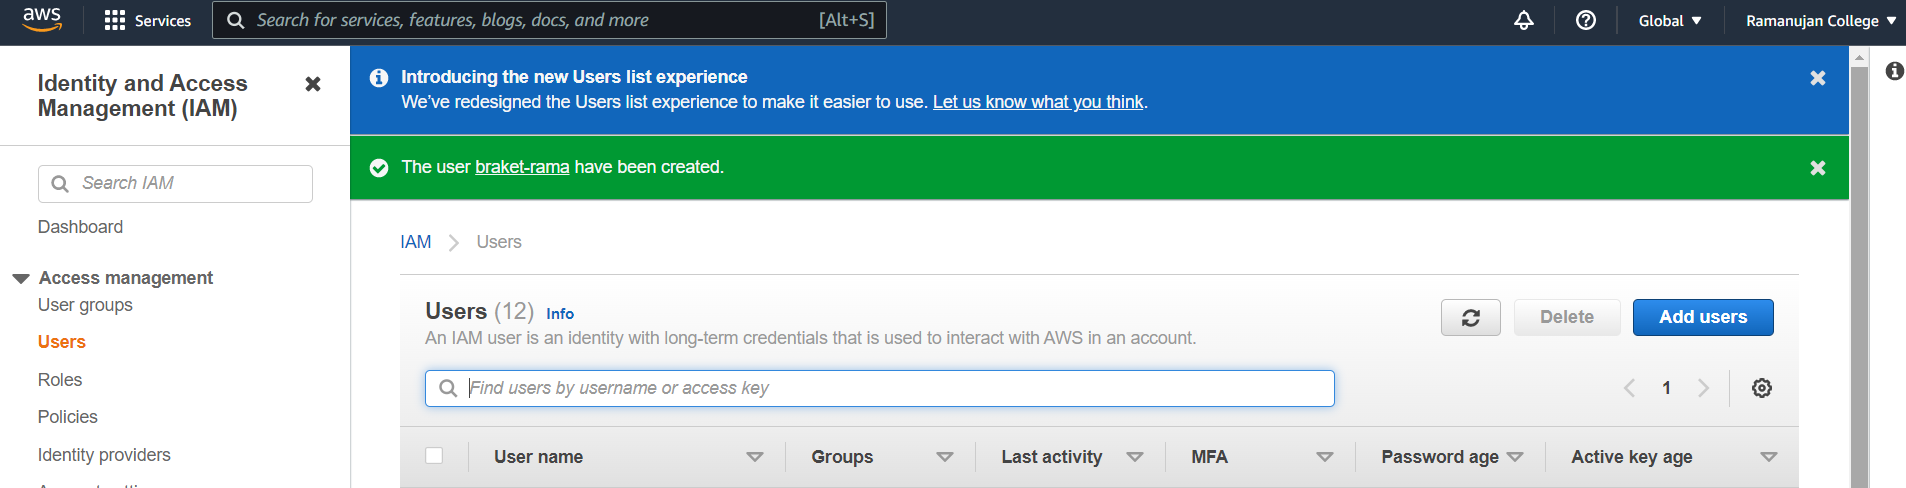
a) For that first we need to Sign into the AWS Management Console and open the IAM console
b) In the navigation pane, there is Users menu on the left panel, and then click on Add users in the right window, as shown in the picture below
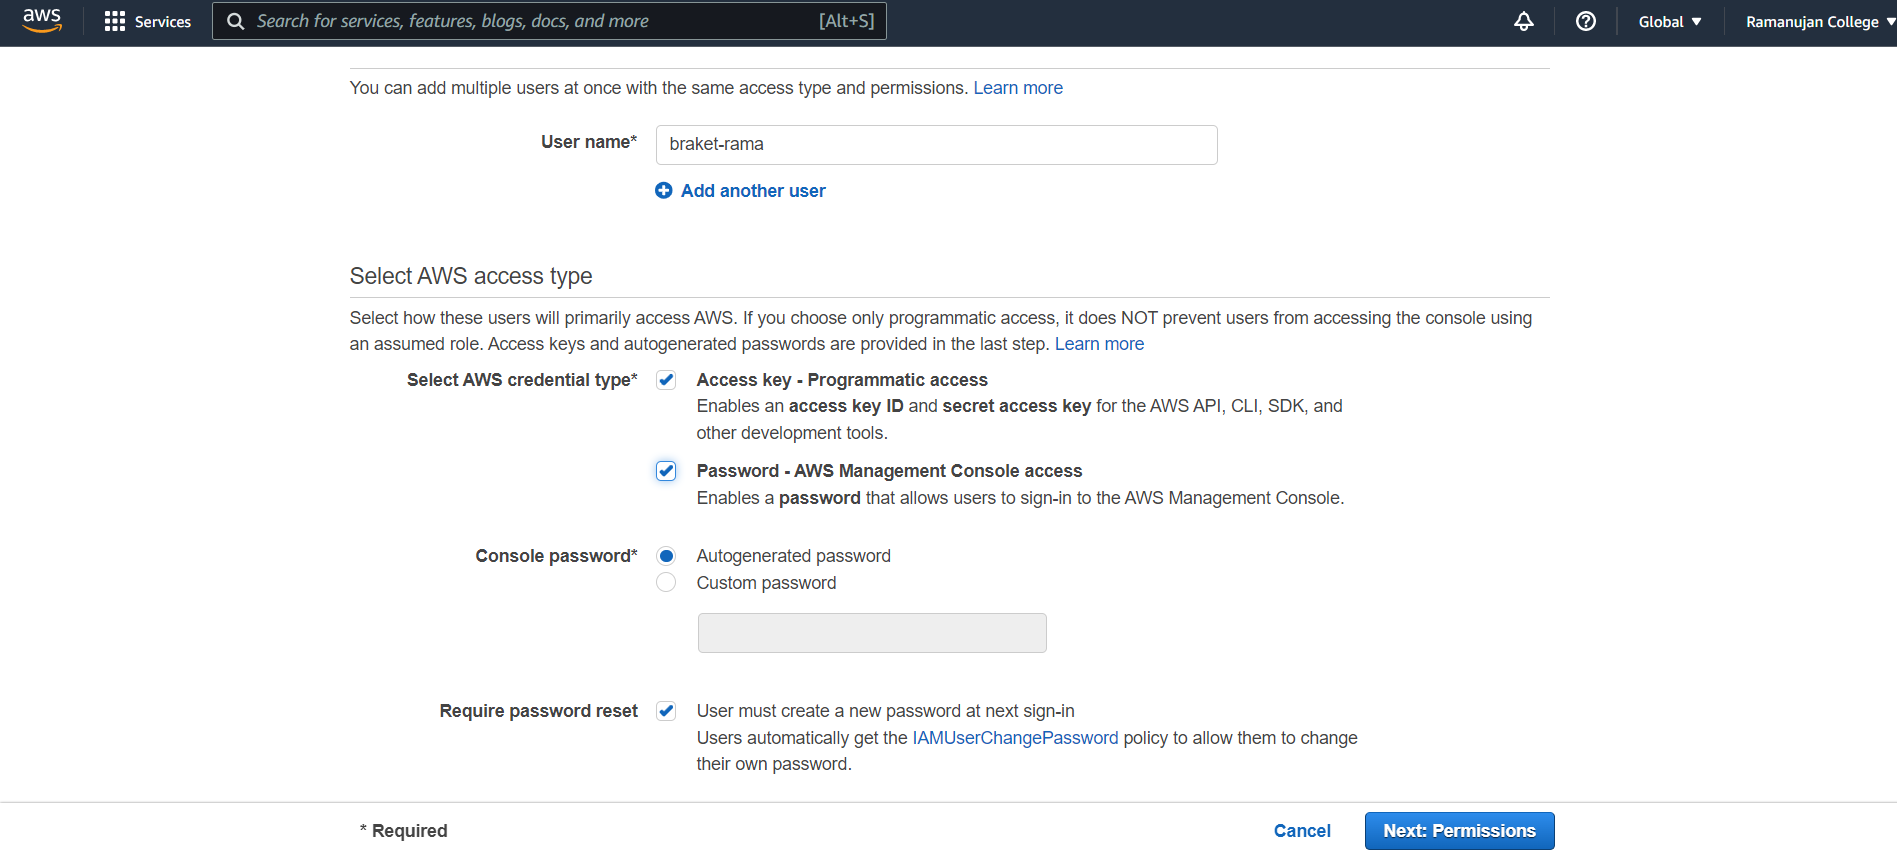
c) First section,In the Set user details section, feed the following given details:
✔ Type the Username for the new user.
✔ Under Select AWS access type, select Programmatic access and AWS Management Console access.
✔ Under Console password, you can either leave it to Autogenerated or can specify a custom password.
✔ Click Next: Permissions.
d) Second Section,In the Set permissions section, provide the following:
a. Select Attach existing policies directly.
b. Type the word Braket in the search field.
c. Tick the checkbox for managed policies AmazonBraketFullAccess and AmazonBraketJobsExecutionPolicy.
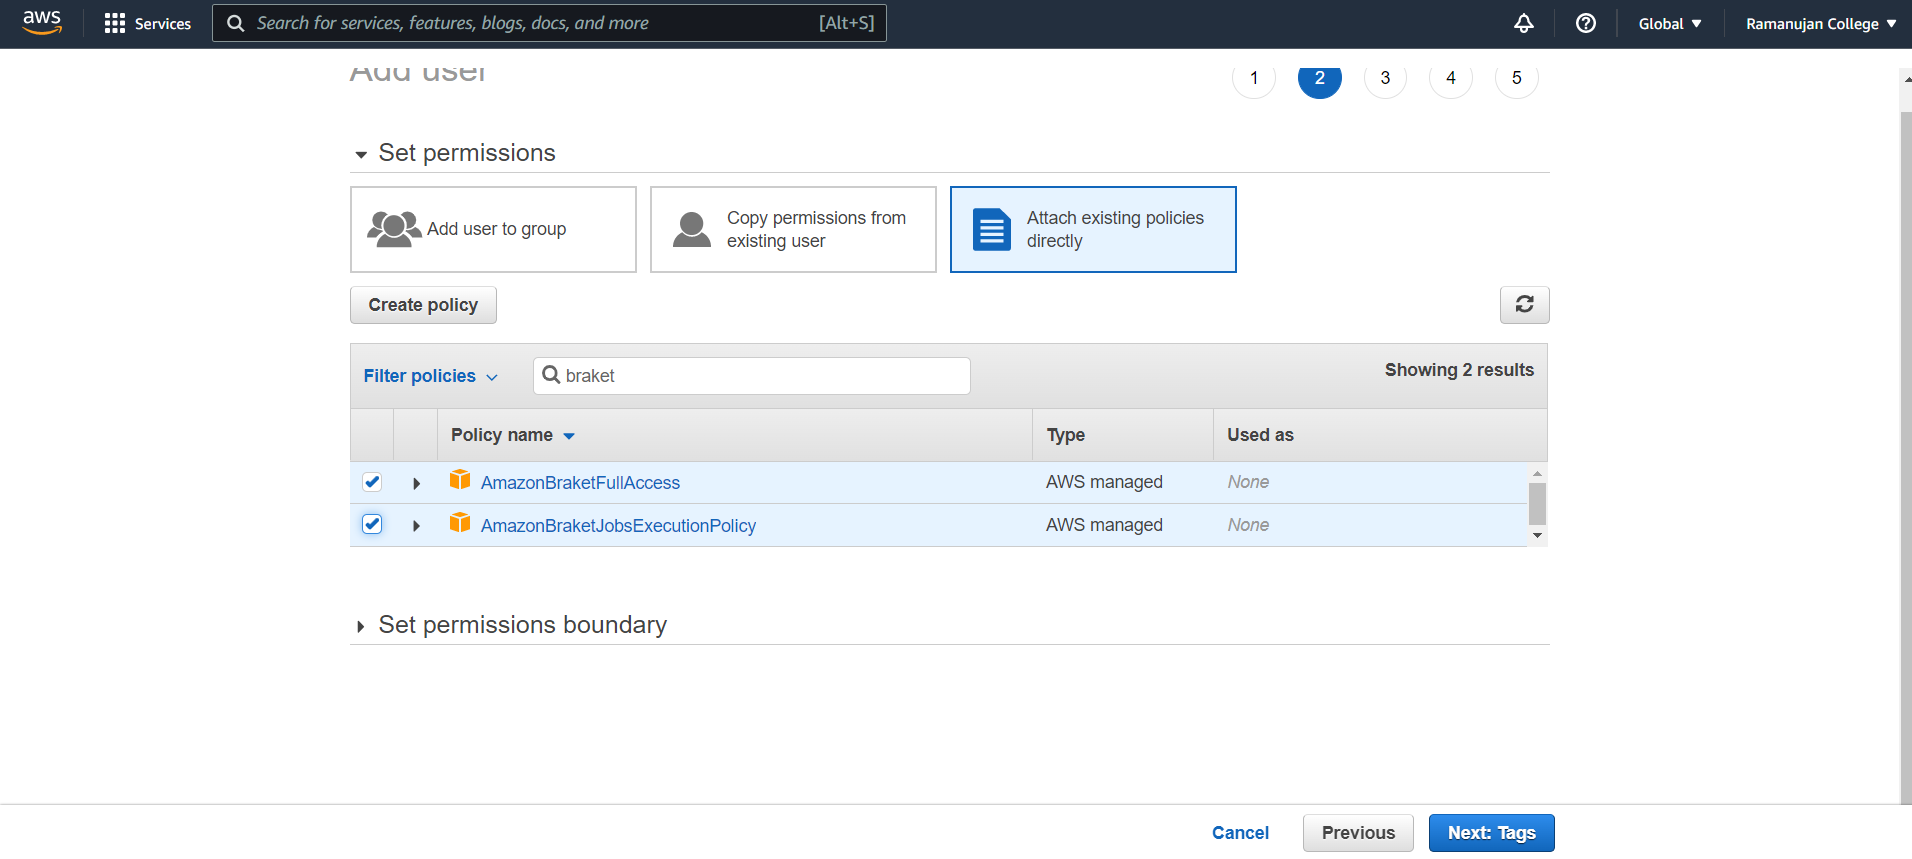
d. Click Next.
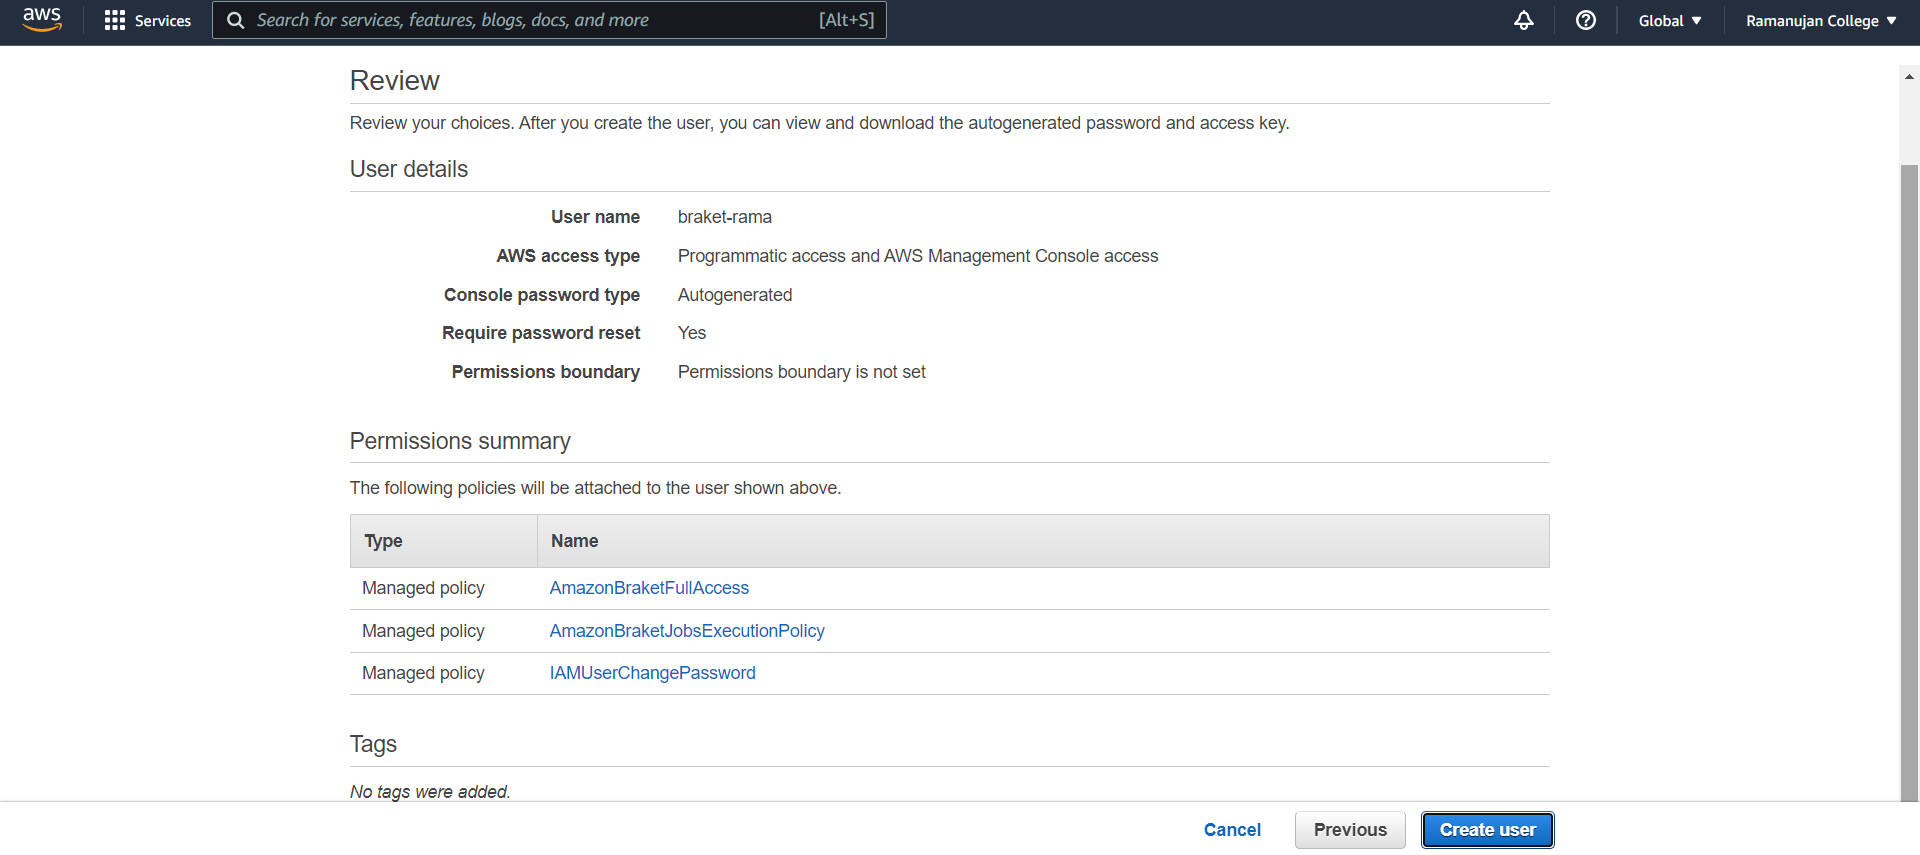
e) Verify the details then click Next: Review
f) Confirm that the information on this screen matches with the previous steps you configured and click Create User.
g) Choose Show next to the password and access key to view the user’s access key ID and secret access key.
h) Choose Download .csv and then save the file with your credentials to a safe location.
Step 3: Enable Amazon Braket service
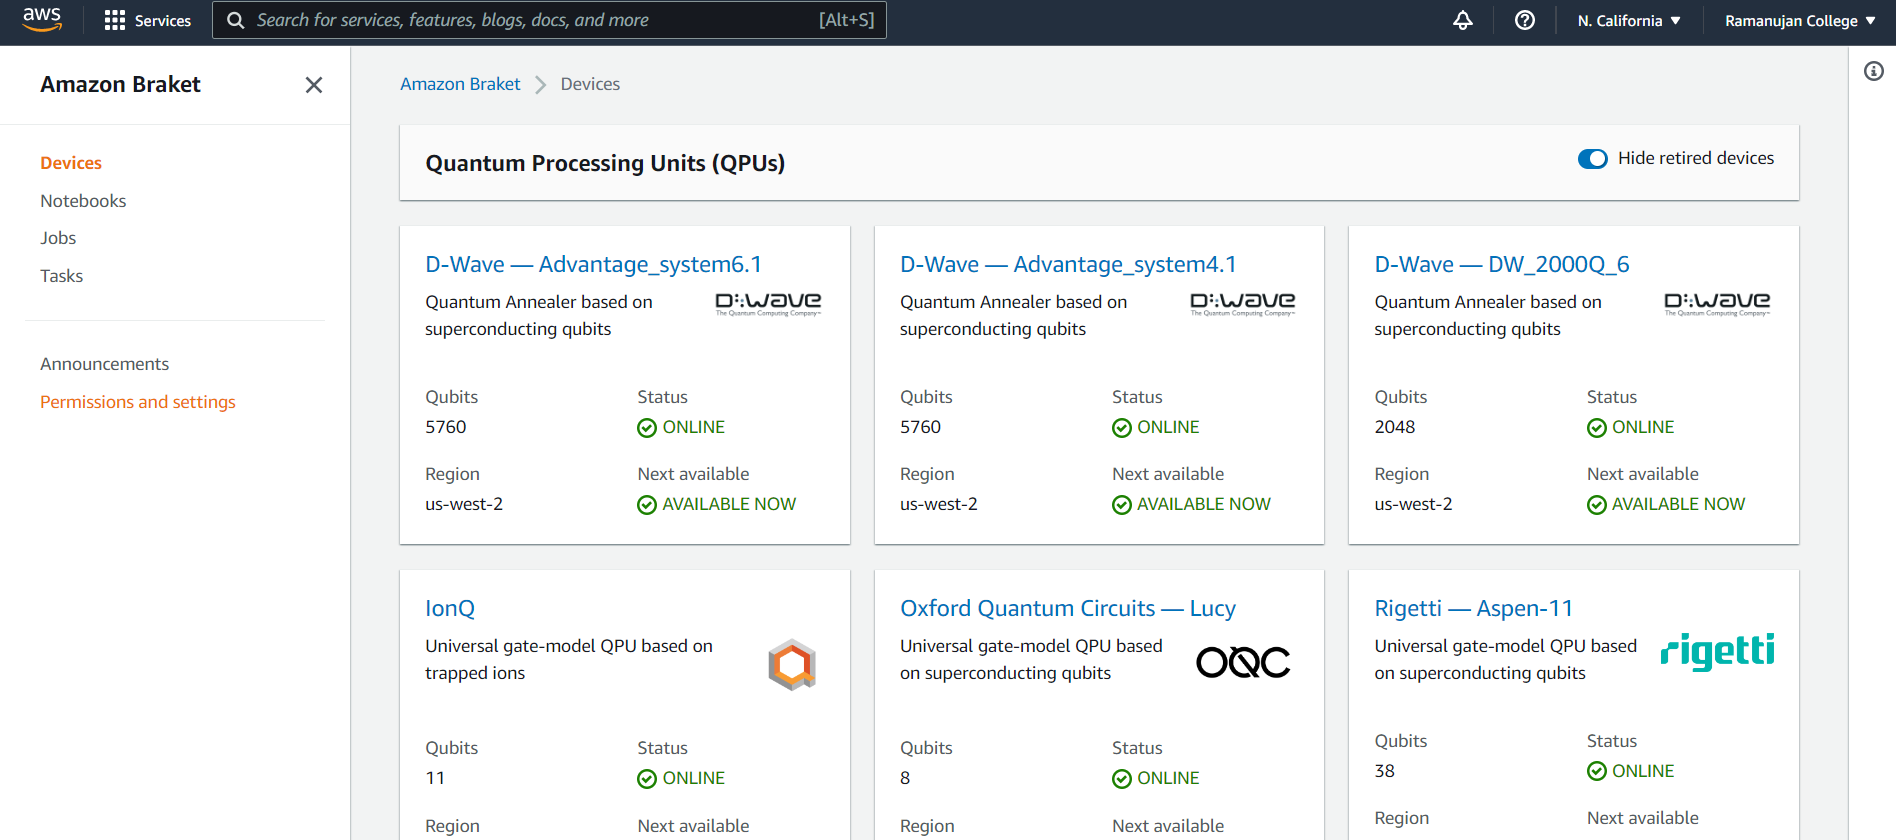
✔ For this, navigate to the Amazon Braket console, and click in Permissions and settings in the left bottom panel. As per configuration, you will see a warning window on top of the screen along with a View permissions button, as shown in the picture below. (Need not to do anything with that warning)
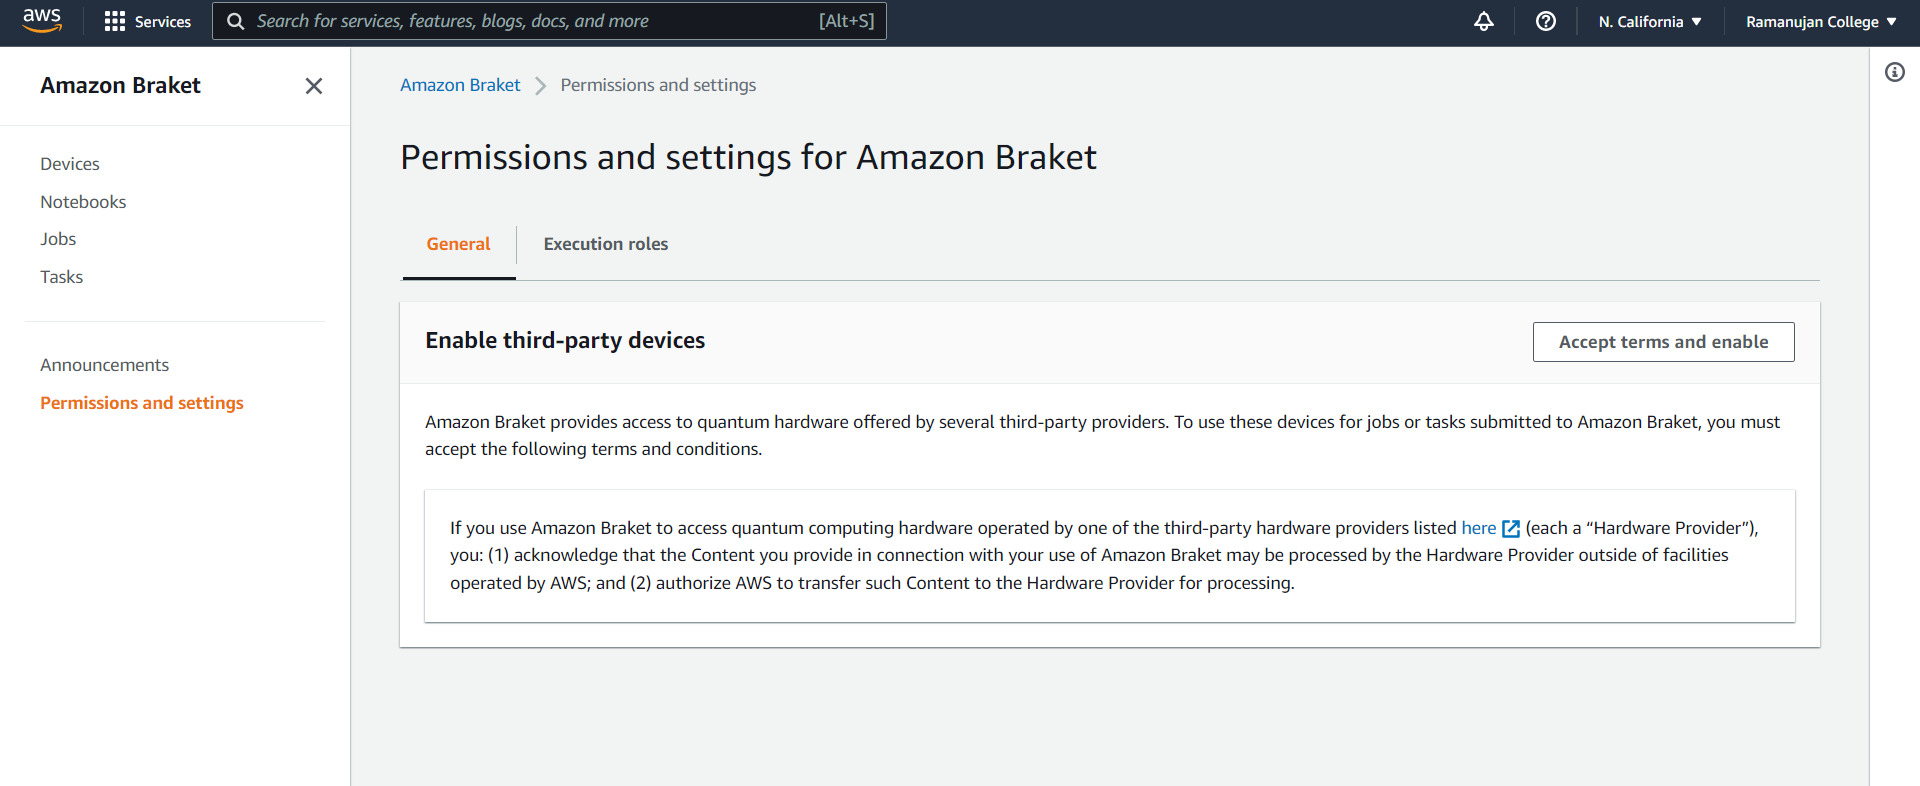
✔ In the Permissions and settings for Amazon Braket window, click on the General tab andyou can see a button to the right of Enable third-party devices. If the button says Accept terms and enable, go ahead and click on it. By doing this, you are accepting the terms and conditions of accessing quantum hardware partners of AWS.
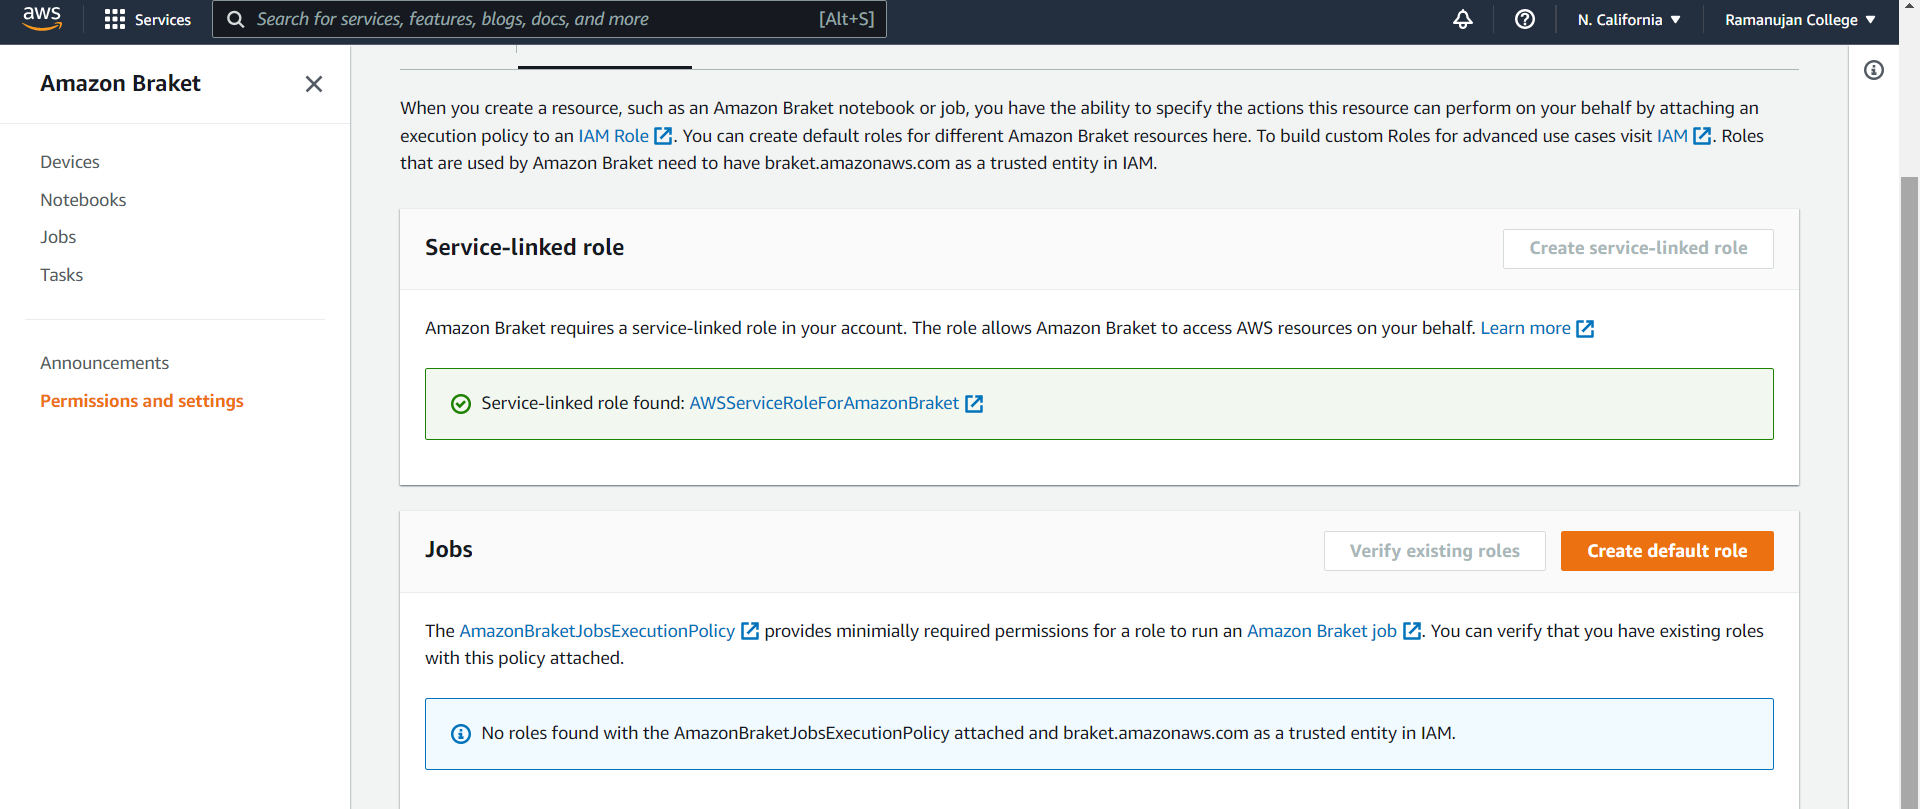
✔ Click on the Execution roles tab under Permissions and settings for Amazon Braket screen and click on Create service-linked role button in the middle if that is available to you. After a few seconds, you will get a confirmation message that the role has been created successfully, as shown in the picture below.

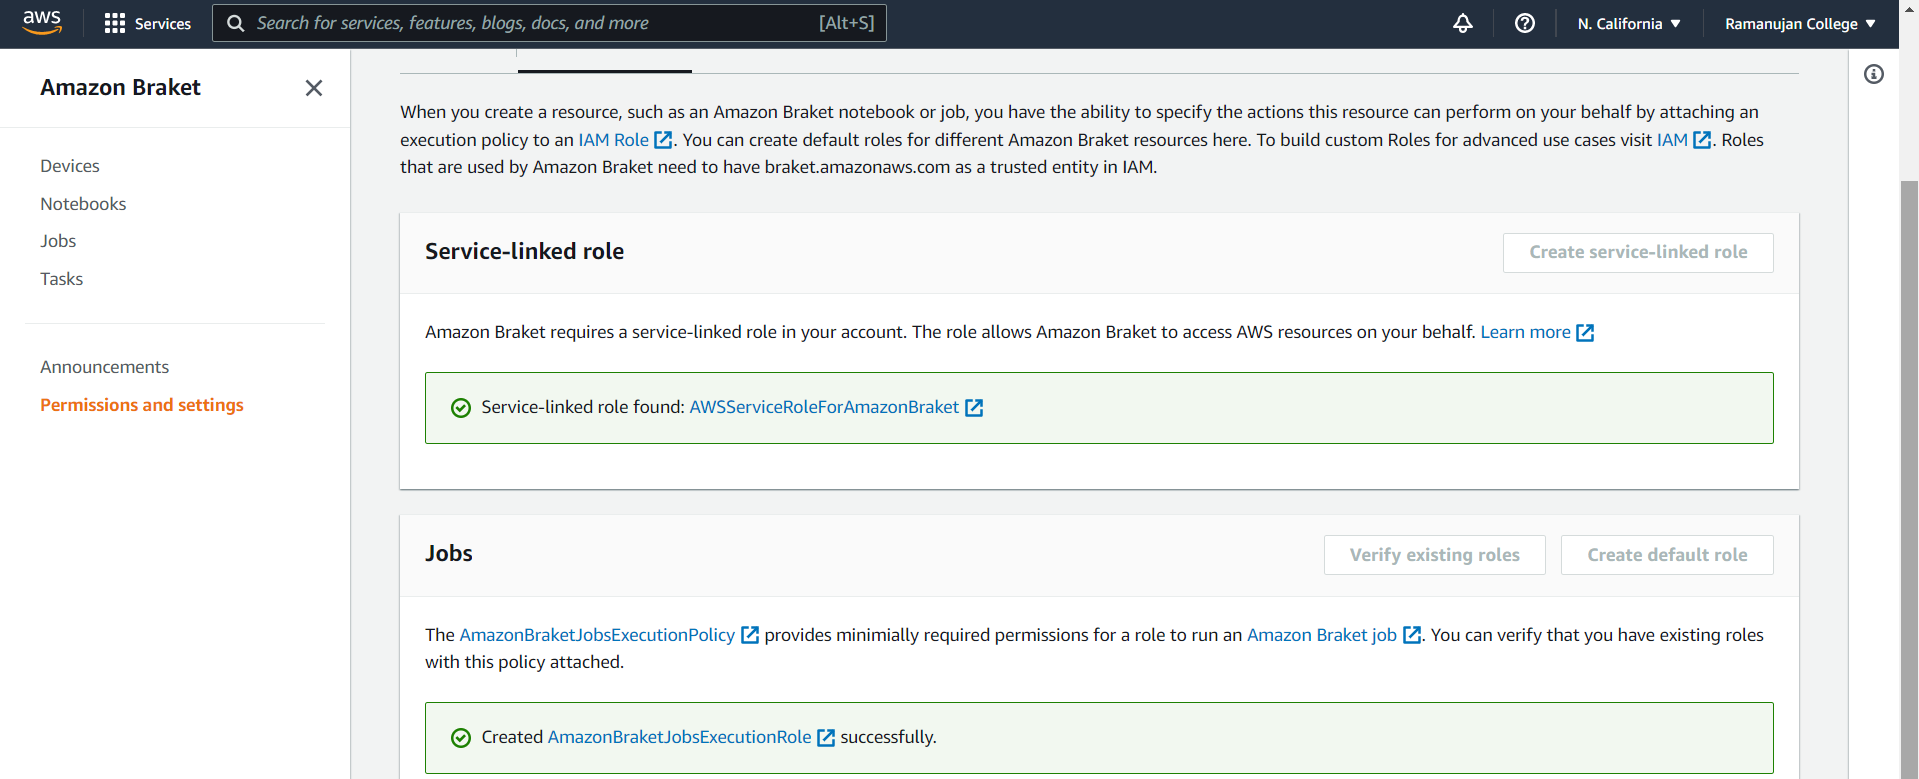
✔ On the same screen, at the bottom, click the Verify existing roles button, and if notify after a few seconds, click the Create default role to its right.
✔ This is how your Permissions and settings screen should look like after completing all these above steps
There are two ways to setup Amazon Braket with local system:
♦ CLI Setup
♦ Conda Setup
Here I am going to demonstrate by using CONDA SETUP.
Use Amazon Braket with your local system: Conda setup
- Install Anaconda or Miniconda and initialize Conda (generic installation in Linux OS):
$ wgethttps://repo.anaconda.com/miniconda/Miniconda3-latest-Linux- x86_64.sh -O ~/miniconda.sh

$ bash~/miniconda.sh -b -p $HOME/miniconda
$ ~/miniconda/bin/conda init

- Create a new Conda python environment, give it a name, and activate it.Here as an example uses braket as the environment name:
(base)$ conda create --name braket python
(braket)$ conda activate braket

• Install the Amzon Braket SDK. This installs all the necessary requirements including boto3, numpy, local simulators, etc.
⭢ pip install boto3

⭢ pip install amazon-braket-sdk
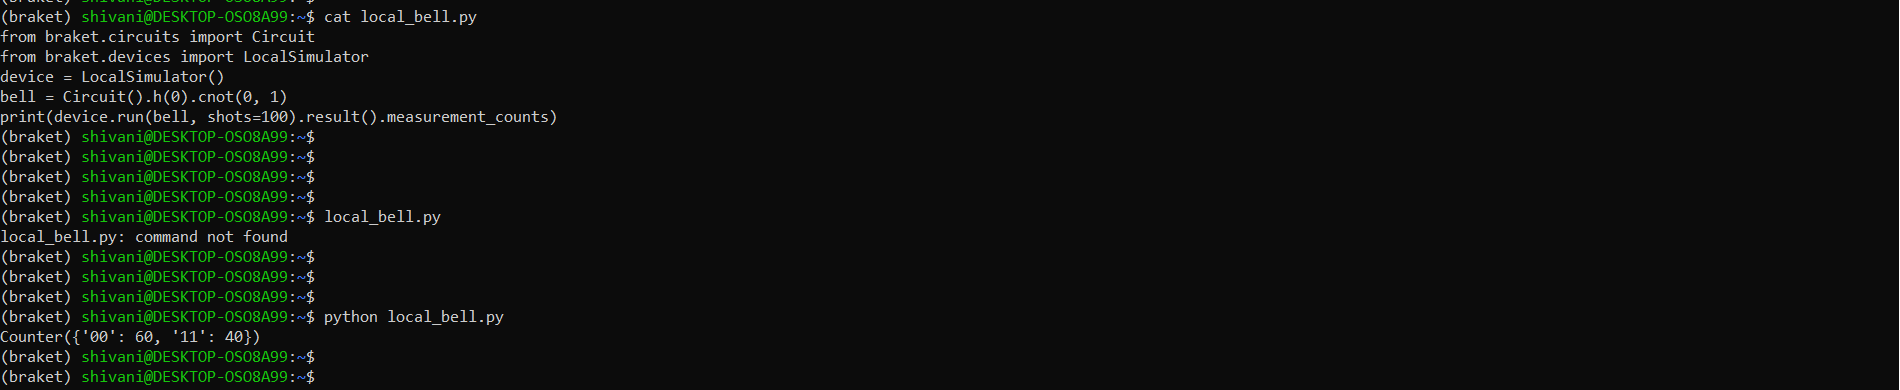
Using the Local Simulator
The Amazon Braket Python SDK includes an implementation of a quantum device simulator that can run circuits on your local machine. The local simulator is well suited for testing on small circuits up to 25 qubits.
- Create an empty file ex: local_bell.py
- Then Write a code/program you want check count for
- Simply, Run the circuit:
- On the same screen you will get result counts:
Using Managed Simulators
Amazon Braket offers fully managed circuit simulators, that you can use to run circuits with a simple API call. This enables us to run larger circuits in the cloud and save time by executing multiple circuits in parallel.
The example here uses SV1, a state vector simulator for general-purpose circuits.
To run a circuit using a managed simulator, follow these steps:
- Create a new file (aws_bell.py in the example):
- Write code
- Save the file and run the circuit from the Conda command prompt:
- And you will get the result right there.

Using QPUs
1. Create a new file (rigetti_bell.py in the example)
2. Write code and save it.
3. Run the code. Instead of the results, it will return a task id or task ARN:

4. Create a new file any name says(get_results-1.py) with the following code to retrieve the results once the execution has completed. Make sure to update the task ID with the previous output:
5. Run the get_results-1.py script:
6. Then you will see the result count:

Conclusion
In this blog, we have gone through how to get started using AMAZON Braket by using AMAZON BRAKET Python SDK and then in the second section the steps required to setup the AWS account, create an AWS IAM user with the right permissions to run Amazon Braket, enable the service, and execute your first circuits using a local Conda development environment. You used the Amazon Braket SDK to interact with the local simulator, the SV1 managed simulator, and Rigetti’s QPU.
So, for the researcher or developer who want to be able to use Amazon Braket, have now a functional local environment without the need to use managed notebooks or the graphical Amazon Braket management console.